There is an option to update Price Only Changes in Ascora and you can do it by accessing the Import tab.
When you select this option, it is important to note that:
It updates Supply Cost with options to update Sell Price.
It does not create new Supplies.
|
1. Start by accessing Import tab.

2. Look for the field called Import Supplier Pricing and click on it.

3. Click Select Files to select your CSV file or Excel spreadsheet and then click Begin Import.

4. Complete the configurations (following the references below) and once done, click Import.
- Select Yes if your data has headers
- Select Supplier if you're importing for only one supplier
- Select from the 3 options namely, Update All, Update Only For Default Markup, and Do Not Update Sell Price.
- Update All - this is applicable when the costs are changing and we keep the mark up the same and adjust the sell price.
- Update Only For Default Markup - if you have certain items that are not changing but the rest of the items are set to a certain standard (eg. 20% mark up, 30% mark up.)
- Do Not Update Sell Price - will just maintain the cost price.
- Update All - this is applicable when the costs are changing and we keep the mark up the same and adjust the sell price.
- Sort out mapping by dragging the items from the left panel to the corresponding field in the right panel. To learn more about how mapping works, please see Importing Price Only Changes#How Mapping Works section.
- Once done, click Import.

Note: You have the option to save mapping by clicking Save New Mapping so you can select it the next time you do a similar import.
How Mapping Works
Provided that you use the standard import template and there are no formulas in the import file, the importer is able to read or identify the data and assign them to the corresponding fields.
- For example, if column A in your Excel sheet is the Part Number, the importer automatically maps it to the field called Part Number. See image below as an example.
However, there are instances when some of the imported data need to be manually mapped and you can do it by dragging the data to the corresponding fields
- In this example, we need to manually map the data for Supplier. To do this, click the box on the left panel then drag to the right panel and drop in the box called Supplier.

After clicking Import, you should see the Import Results such as number of records imported.
If there is no error message, it means that all data have been imported successfully.

Identifying Error Messages
After clicking Import, it should show you an indicator if successful with nil errors (just like the above example), otherwise, an error message will be shown and you can import again after making the necessary corrections.
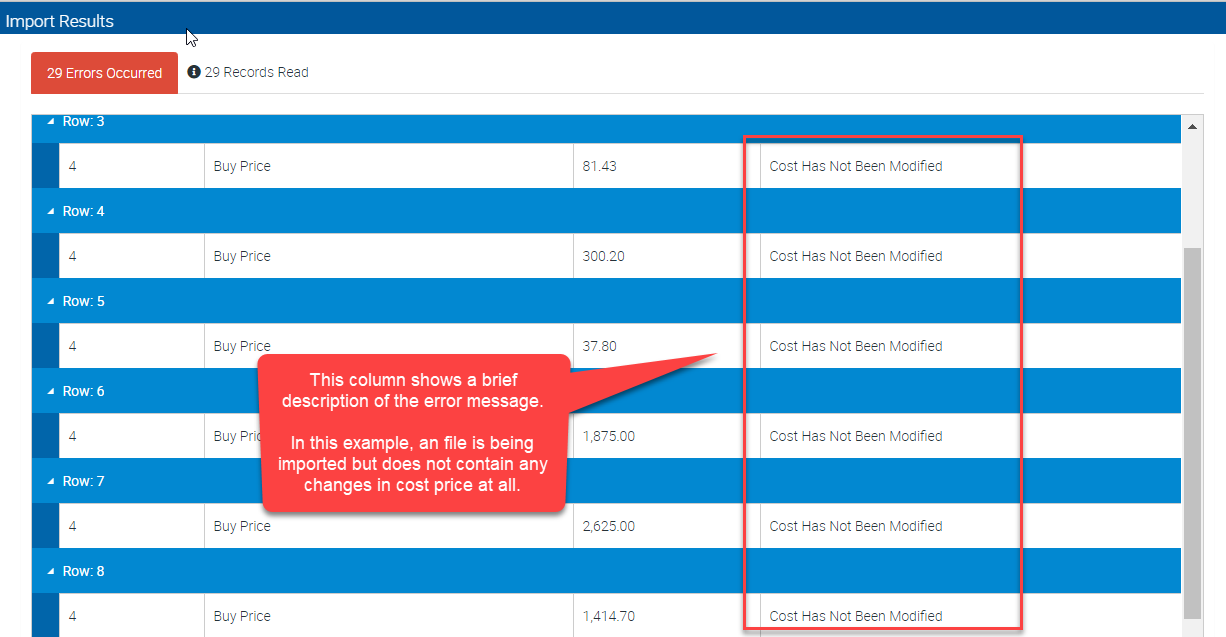
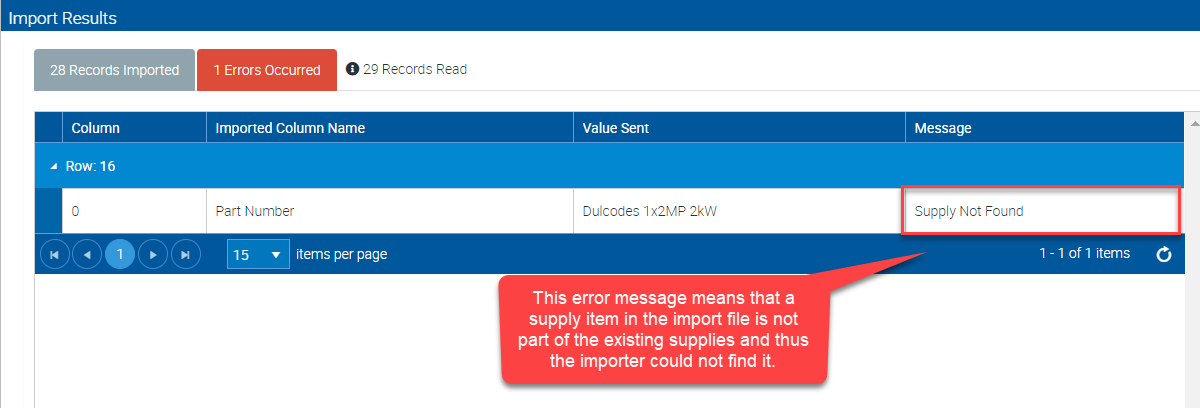
Examples of Error Messages
Cost Has Not Been Modified
Supply Not Found
Note: You might encounter other error messages not mentioned in this user guide but simply do the necessary changes and you should be able to successfully import the file again.
![]() We've now completed the process of importing price only changes.
We've now completed the process of importing price only changes.
Add Comment